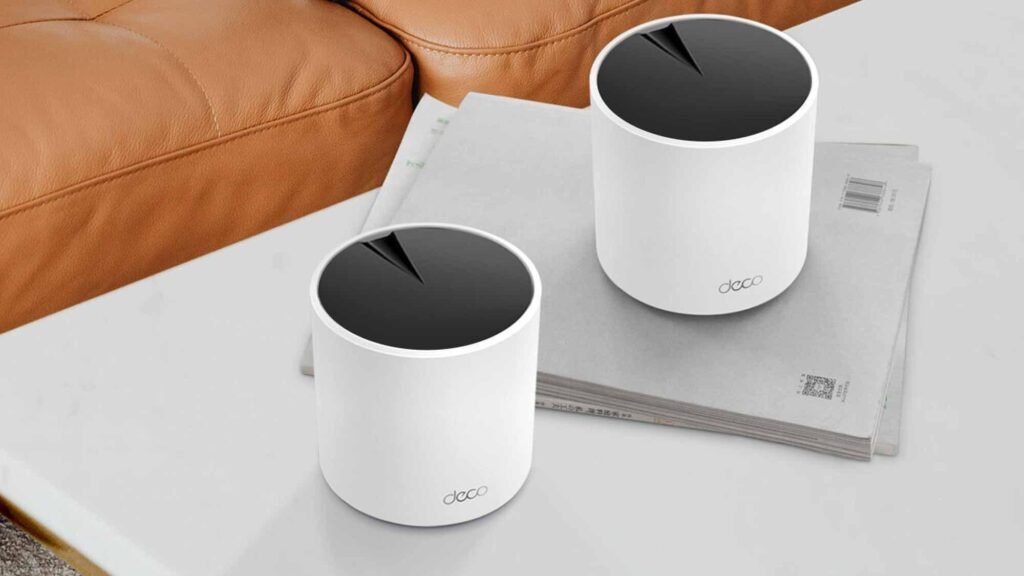
Deco Mesh System is a set of networking devices that are products of TP-ink. In the Deco system, there are a number of unit devices. One of them that connects to the modem by using an Ethernet cable is called a gateway (main device). And the rest of the other nodes connect to the main node with the help of the Deco app. In this article, we will learn how to perform Deco Ax3000 Setup and login to the Deco app. Let’s start with:
Steps to Setup the Deco Mesh System
You need to follow the given below steps to set up your mesh system:
- Plug out your existing modem.
- Connect the main node to the modem with an Ethernet cable.
- Connect the power adapter to the main node, and plug the adapter into the outlet.
- Turn on your modem first and then deco node.
- When the node connects with the modem, a blue light flashes on the main node.
Note: Solid yellow: It indicates that the deco is starting; please wait.
After that, you need to login to the DECO app for further processing.
Login into the Deco app.
You can find this app easily on the Google Play Store and App Store. After downloading and installing the TP-link Deco app on your smart phone, follow the steps to perform the Deco Login:
- Connect your mobile to the Deco network, and open the app by tapping on it.
- First of all, the app will show you the login page.
- If you don’t have an ID, then click the SIGN UP button.
- By using your email ID, create a password.
- Now login to the app; it will show the option Let’s Begin; tap on it.
- Select your Deco model name; the model name is on the label.
- Assign the location where your router is placed.
- Select the dynamic IP for DHCP and PPPoE for the PPPoE connection.
By using this SSID and password, connect devices to the network.
Add New Node
When the main node has been configured, then you can connect another node and create a Deco Mesh Network.
- Keep the new node at that place where signals are weak.
- Connect the power adapter to the new node and plug into the socket.
- The new deco model should be the same model as the main node.
- Now open the Deco app and tap on the + (plus) button at the top right.
- Select the ‘Decos’ and turn on the new node.
- Wait until the blue light flashes on the node.
- Choose the location of the new node and tap on continue.
- When the node is connected successfully, a solid yellow light flashes steady.
You will need to follow the same steps when you connect another node.
How to Reset Nodes
Use the reset process to return to the factory default settings and to remove nodes from the Deco network. You can reset your node manually or via the app. Below, we have discussed both methods:
Reset Via App
- Open and login to the app.
- Select the node you want to reset or remove.
- Find and tap on the settings option.
- Tap on the remove or delete node button for factory reset.
This way you can easily reset or remove a node.
Reset Manually
- First, turn on the device and remove the back cover of the node.
- Find the pinhole on the Deco node
- Put a paper clip into the pinhole and press for 5-10 seconds.
- After that, the reset process will start.
After the reset process, all the settings and data will clear. And you need to reconfigure your node.
Conclusion
In the above article, you understood what a Deco Mesh system is and how it works. Also, you learned how to setup the mesh system and add a new node to the Deco network.


More Stories
Dental Billing Software: How It Can Boost Your Income
Transforming Retail Experiences with AI in Retail: Personalization, Automation, and Smarter Inventory Management
The Art of Web Designing in Dubai UAE